Pak een stuk papier maak eerst een paar achtergronden met je gelli plate en ga dan lekker verder met deze leuke tutorial om de Butterfly tag te maken.
Stap 1
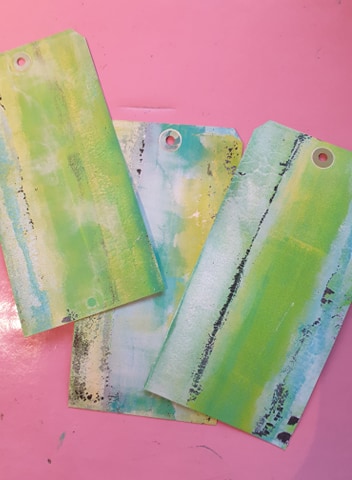
Ik had al heerlijk gespeeld met de gelli plate waar deze drie tags het mooiste van waren. Met een ga ik er verder om de mooie tag met de vlinder te maken.
---
Step 1
I had already played wonderfully with the gelli plate of which these three tags were the best. With one I continue to make the beautiful tag with the butterfly.
Stap 2
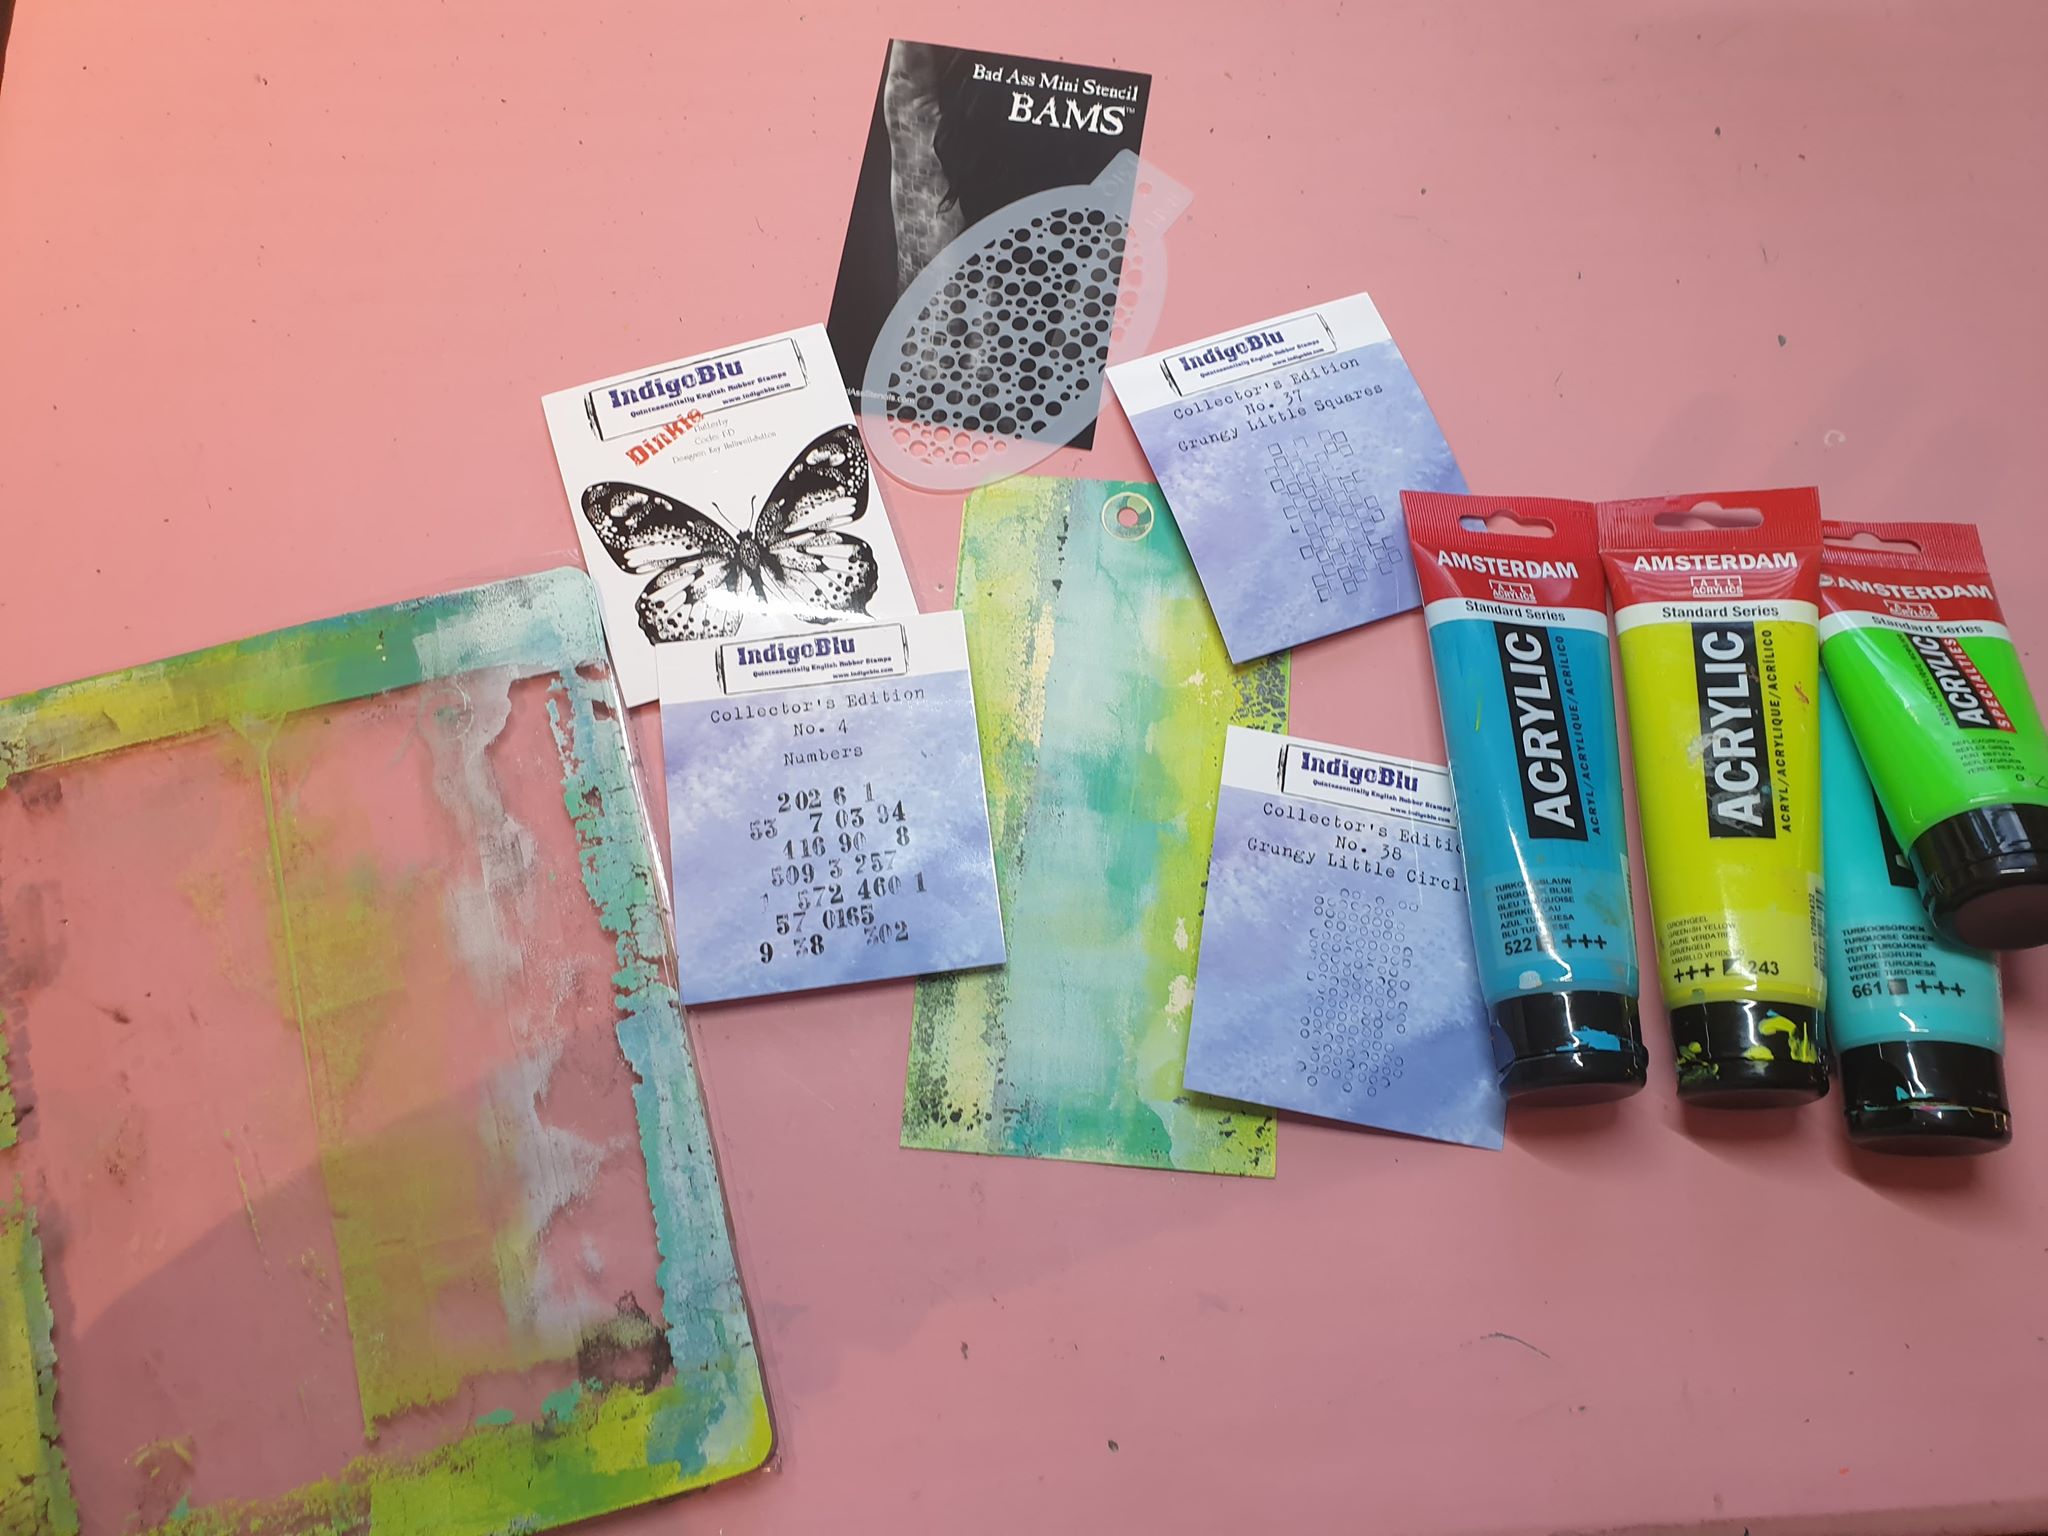
Dit is de basis waar ik mee werk.
---
Step 2
This is the basis I will start with.
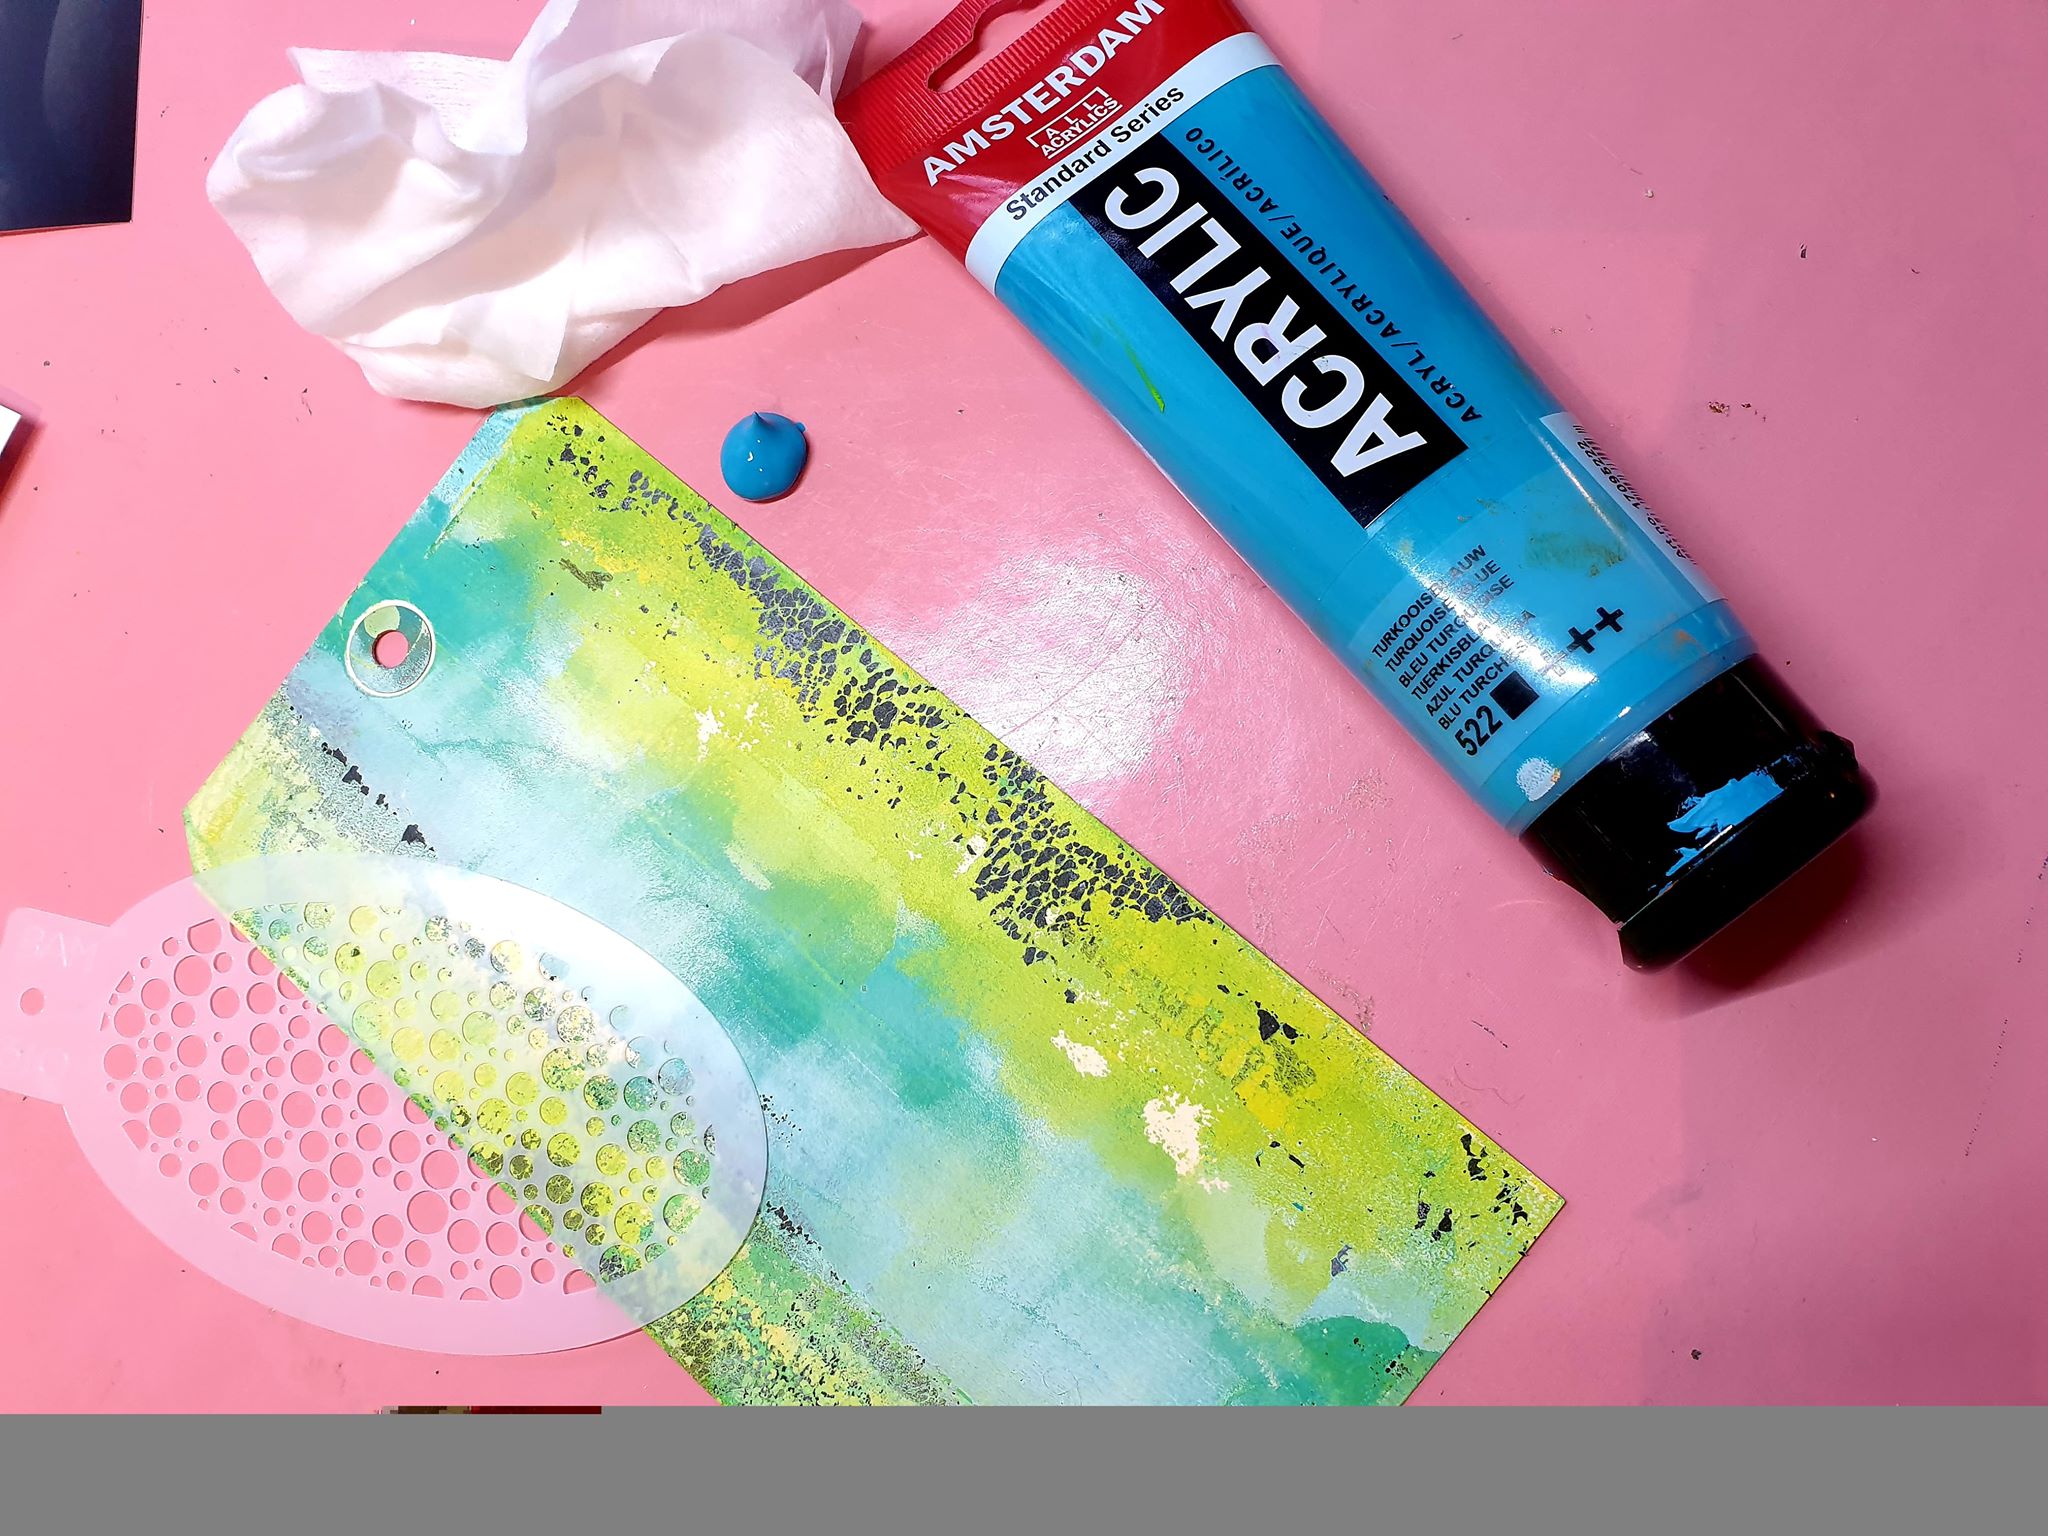
Stap 3
Breng met een babydoekje verf op je tag door een stencil heen. Dit is een makkelijke manier om heel gedoseerd verf op te brengen. Doe sit aan de boven en de onderkant.
---
Step 3
Apply paint to your tag through a stencil with a baby wipe. This is an easy way to apply very dosed paint. Do sit at the top and bottom.
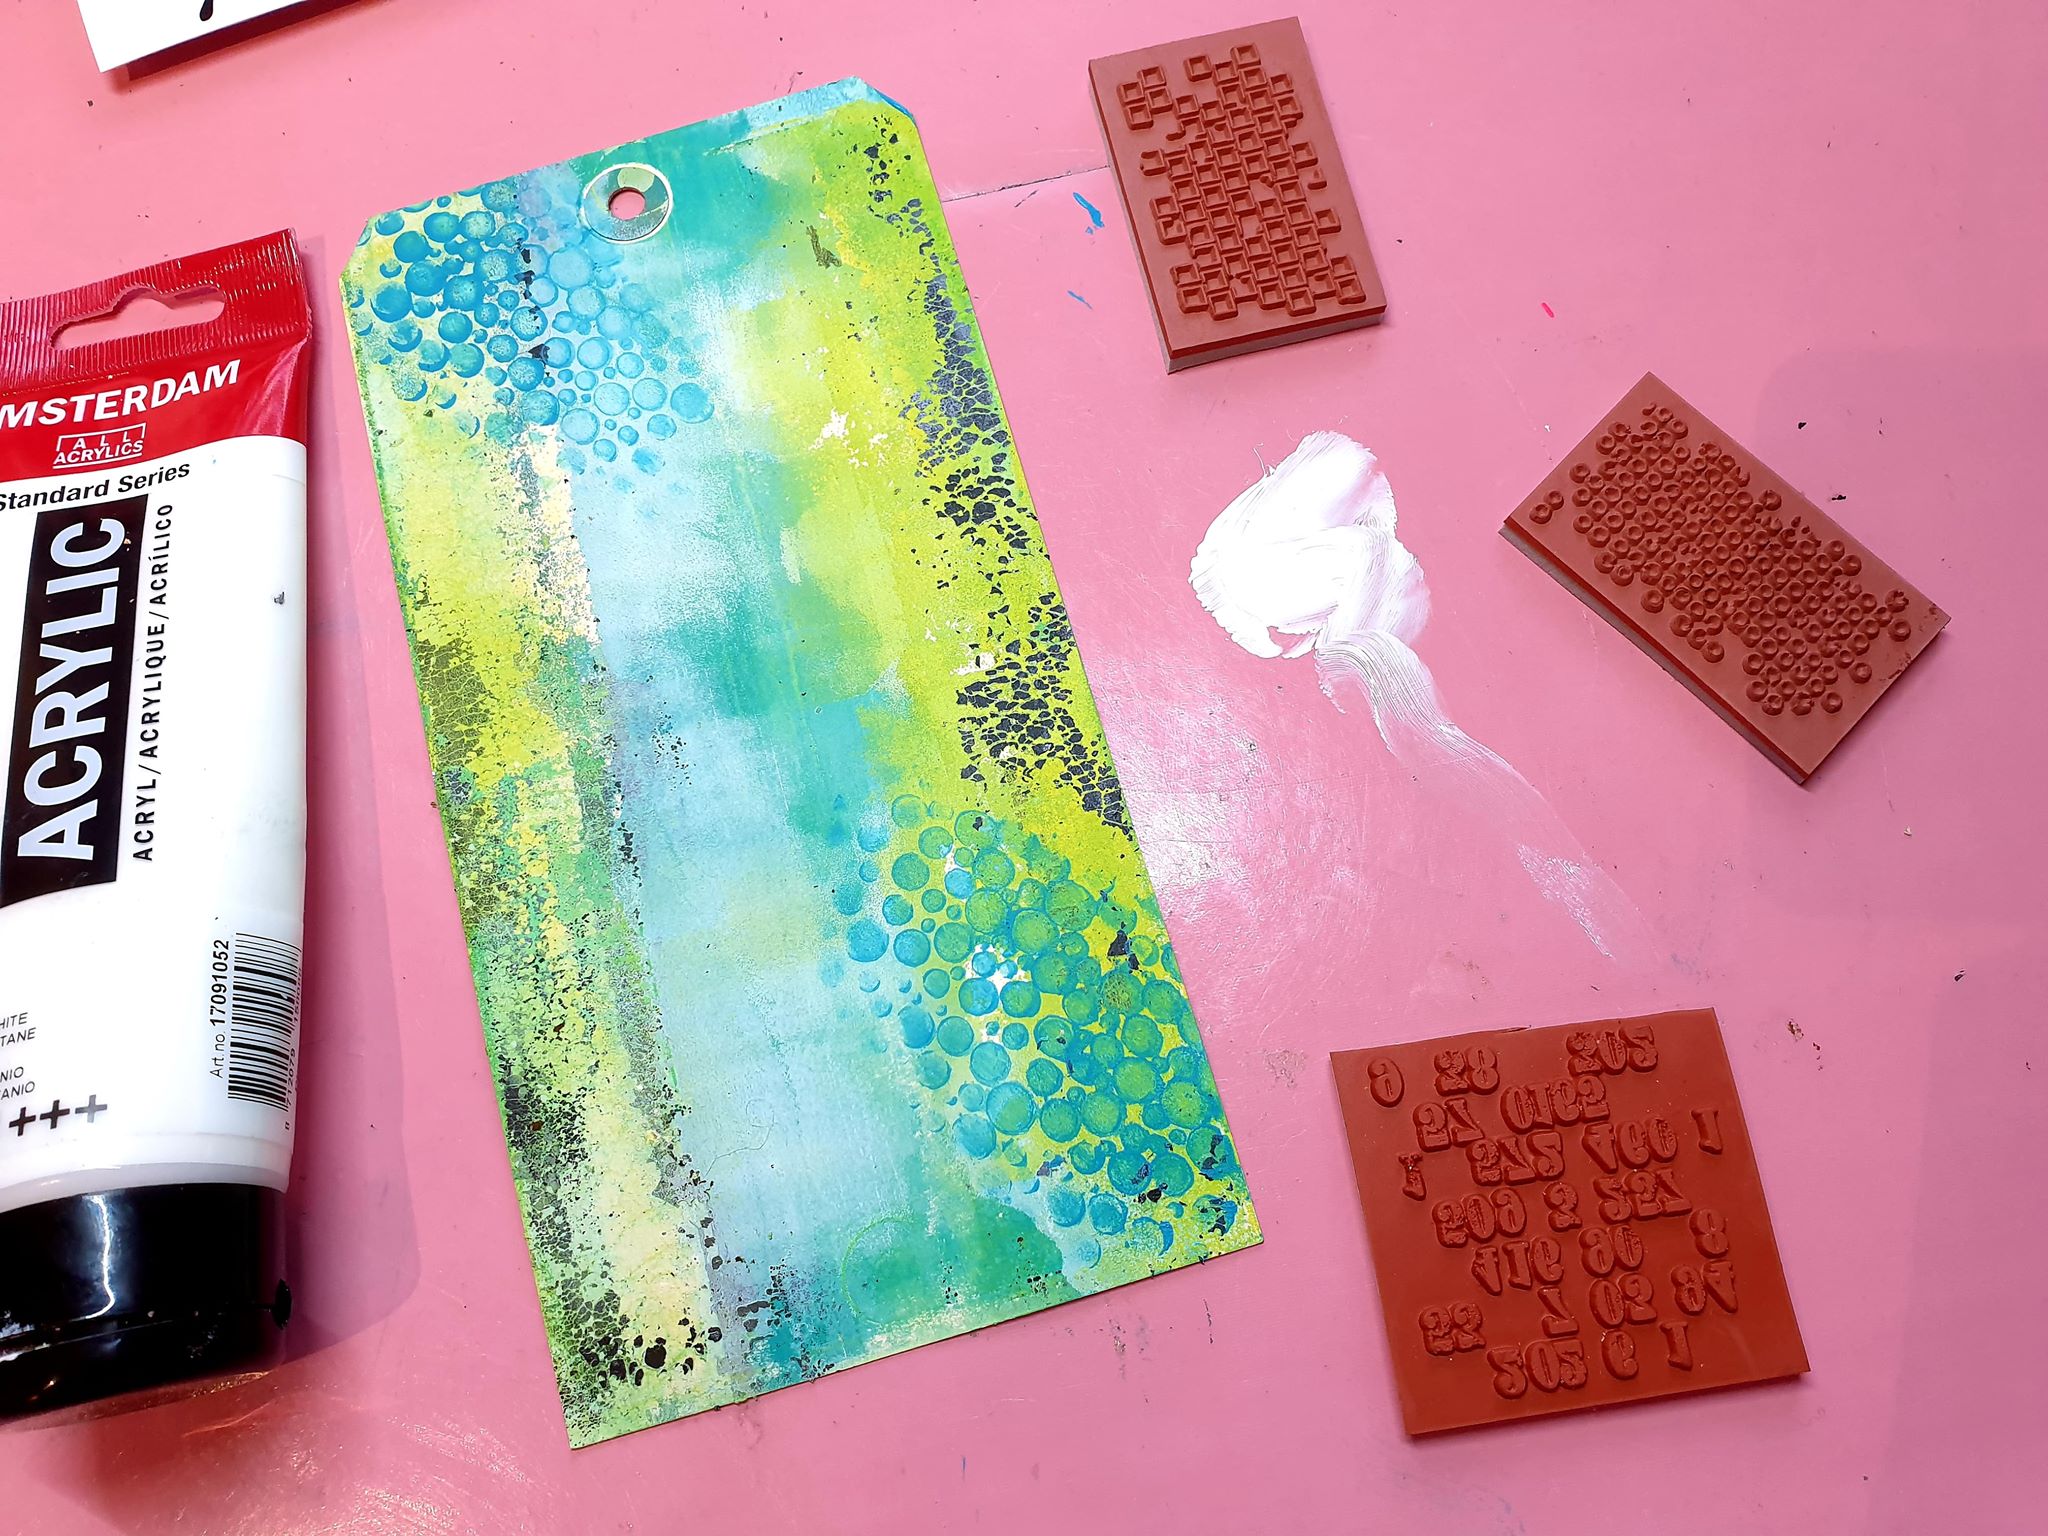
Stap 4
Smeer een klein beetje witte verf op je craftsheet, druk de stempels erin en stempel af op je tag.
Maak gelijk je stempels schoon omdat verf niet goed is voor je stempels als het erop blijft zitten.
---
Step 4
Apply a little white paint on your craftsheet, press the stamps in and stamp on your tag. Immediately clean your stamps because paint is not good for your stamps if it stays on it.
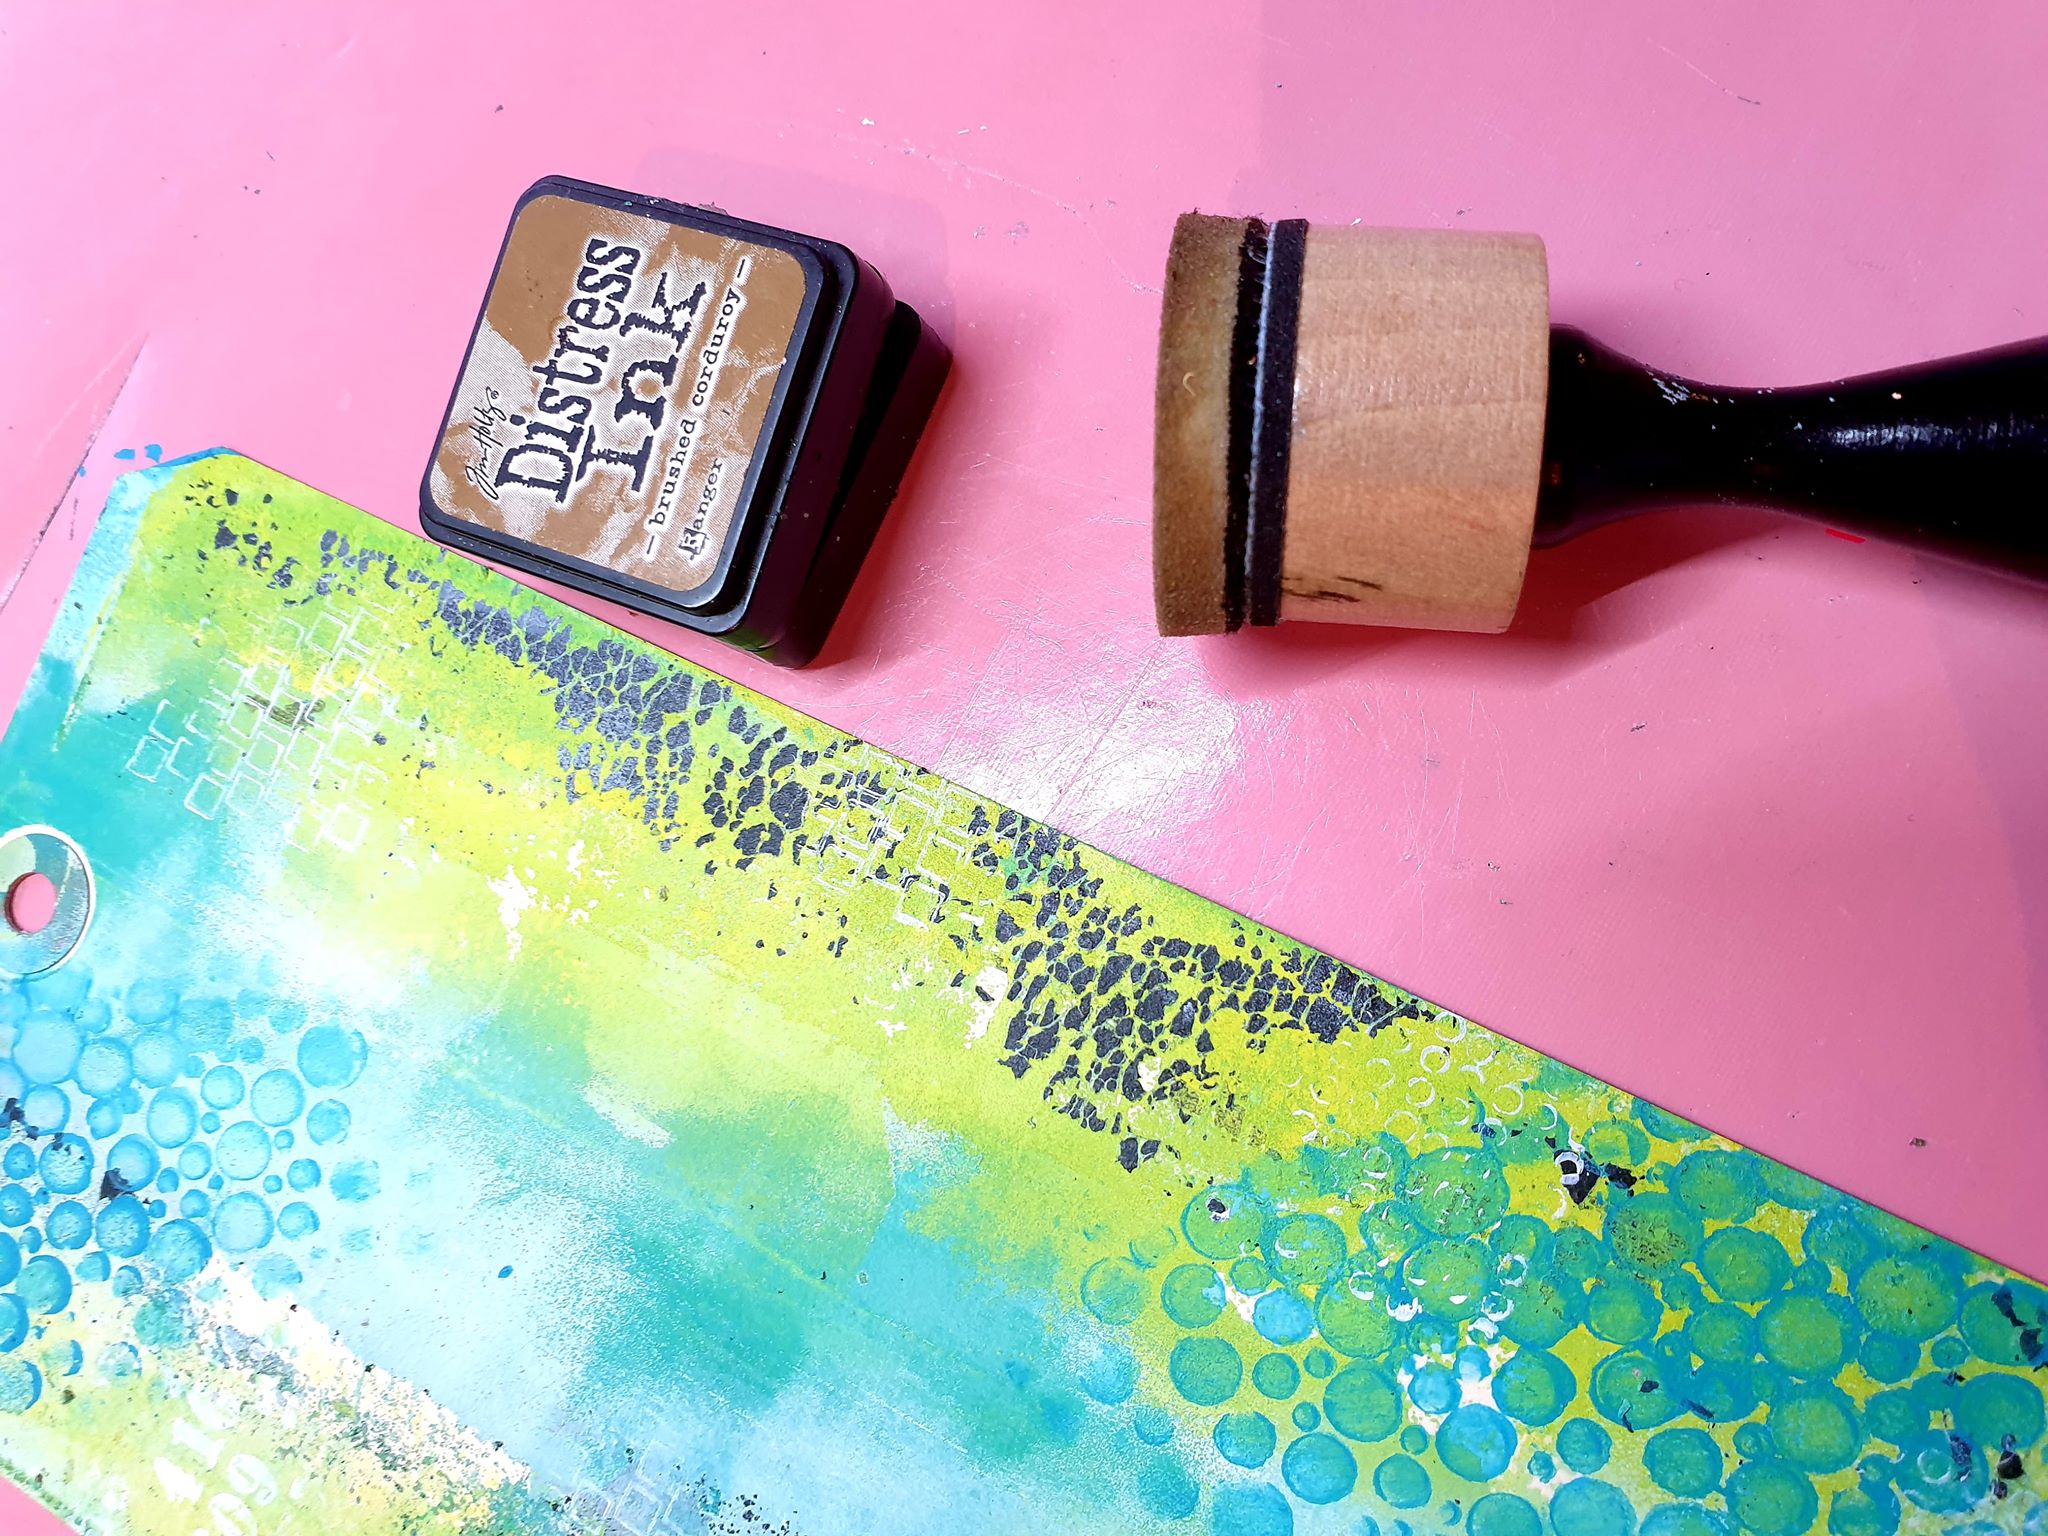
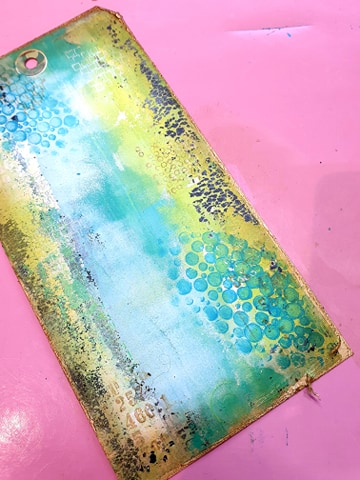
Stap 5
maak de randen van je tag bruin met distress inkt.
---
Step 5
Brown the edges of your tag with distress ink.
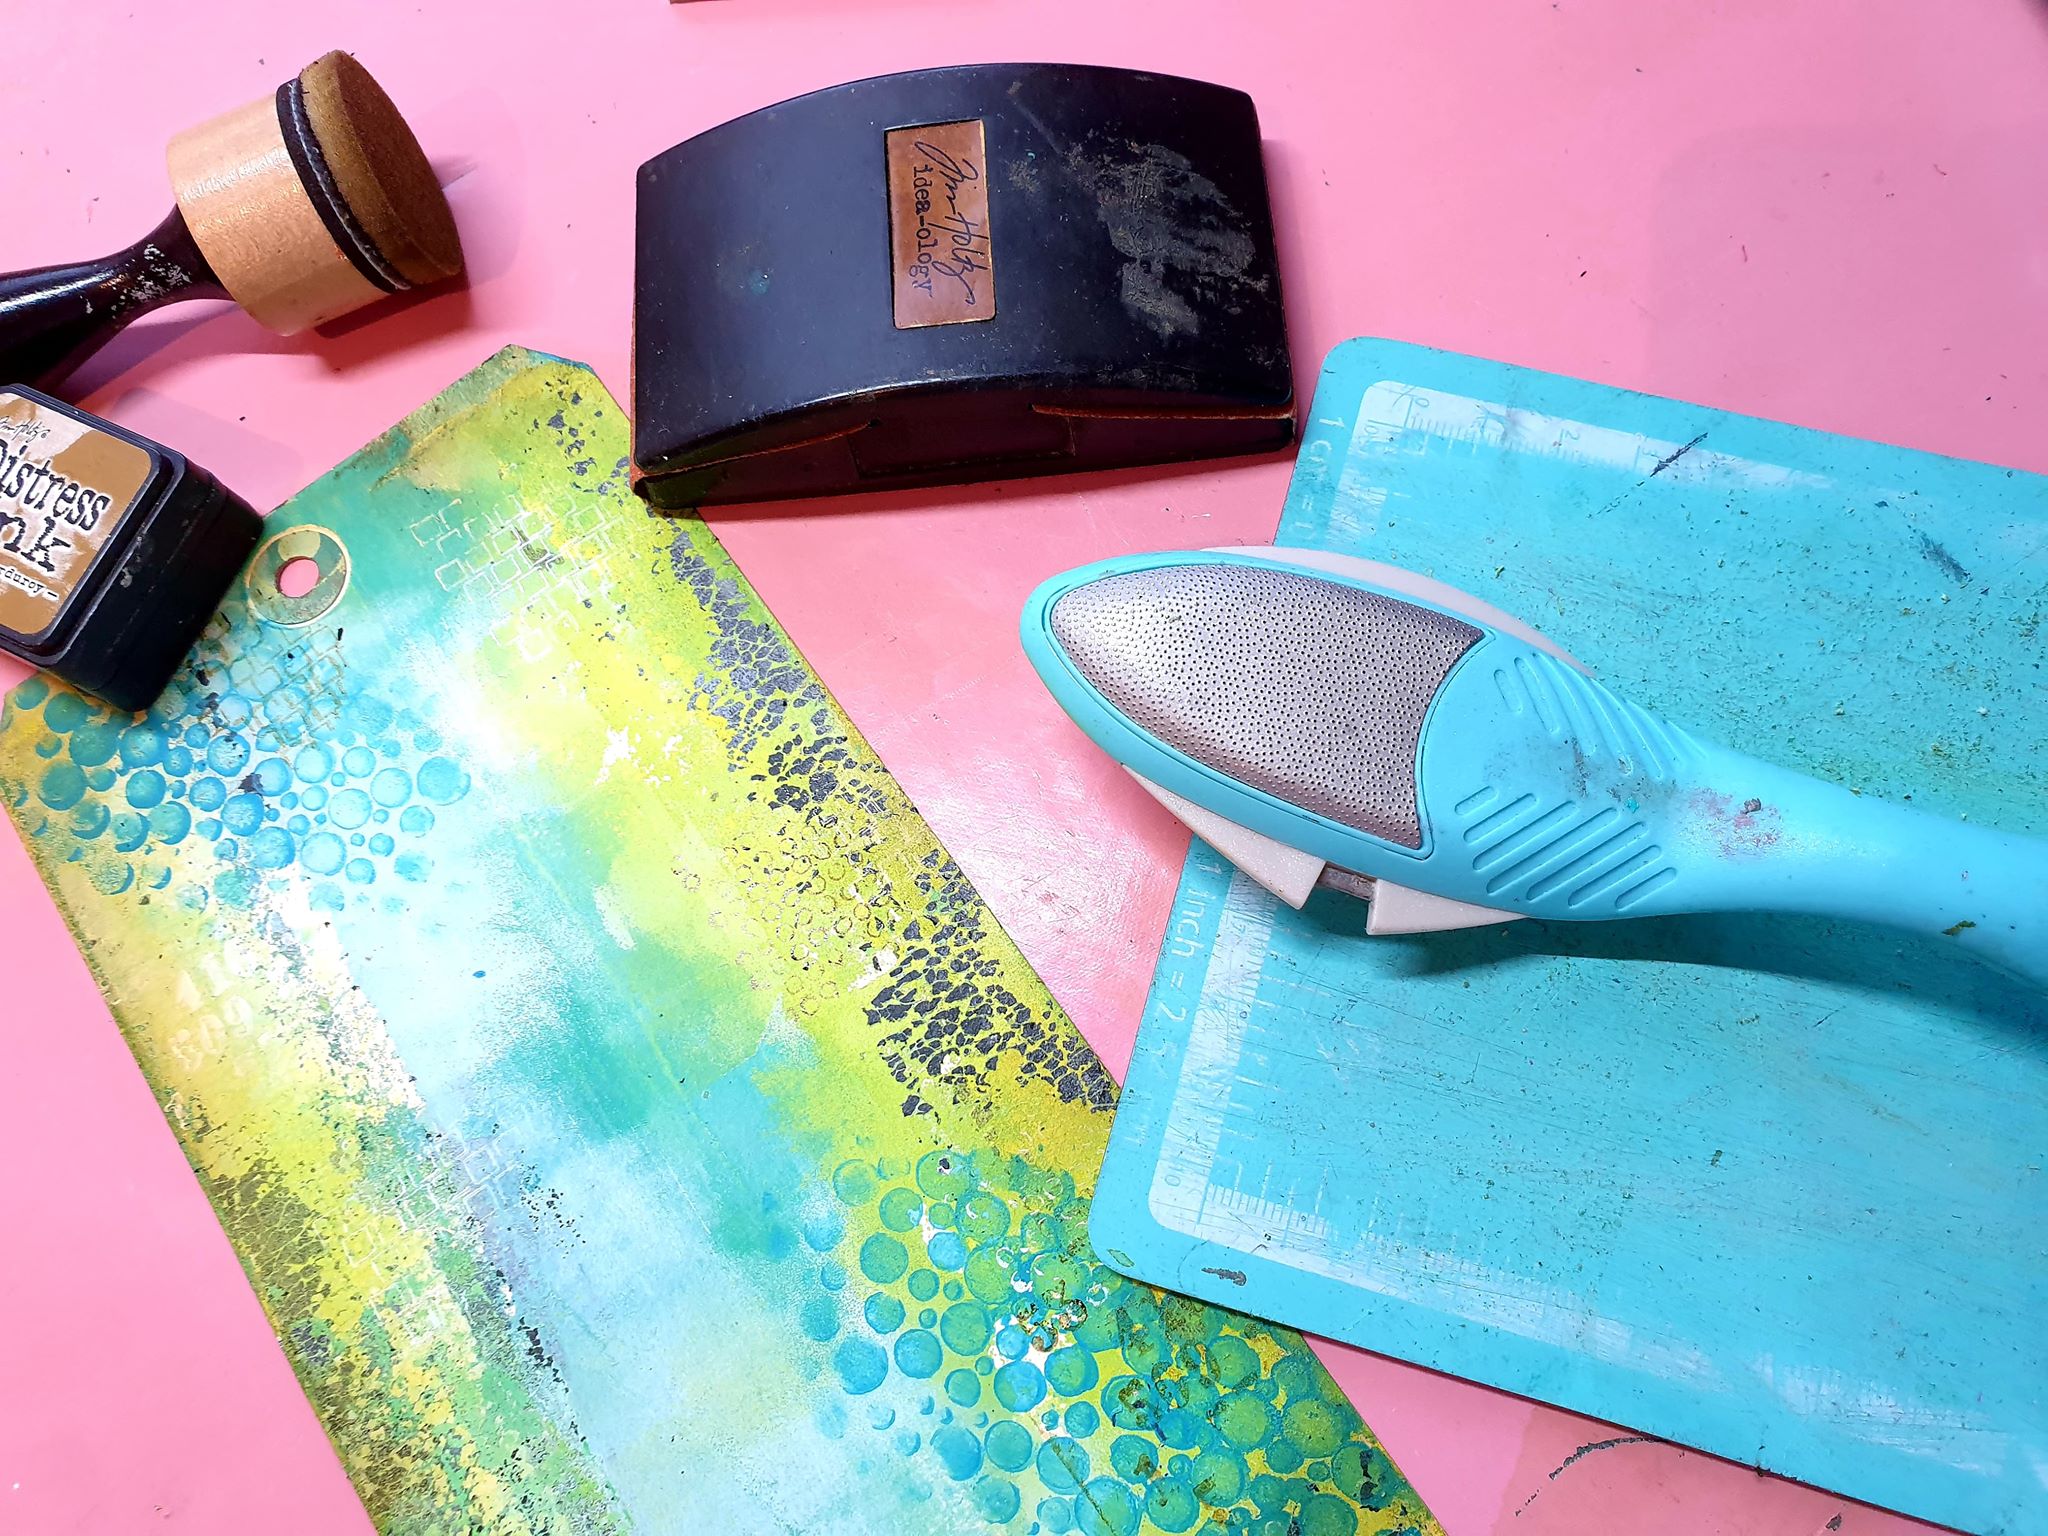
stap 6/7
ruw de tranden op met een distress tool of schuurpapier en maak opnieuw bruin met distress inkt.
---
step 6/7
Roughin the edges with a distress tool or sandpaper and brown again with distress ink.
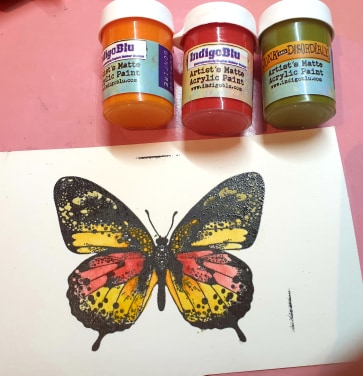
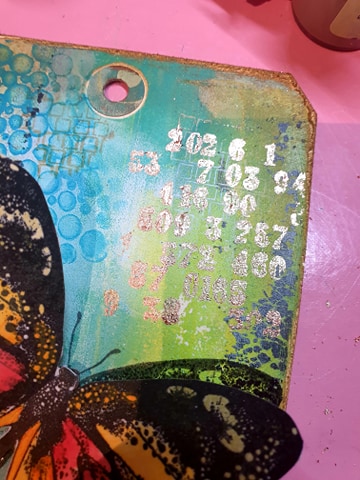
Stap 8
Stempel de vlinder en de tekst op de tag en de vlinder ook op een appart papiertje, met zwarte inkt en heat emboss met clear embossingpoeder.
---
Step 8
stamp the butterfly and the text on the tag and the butterfly also on a separate piece of paper, with black ink and heat emboss with clear embossing powder.
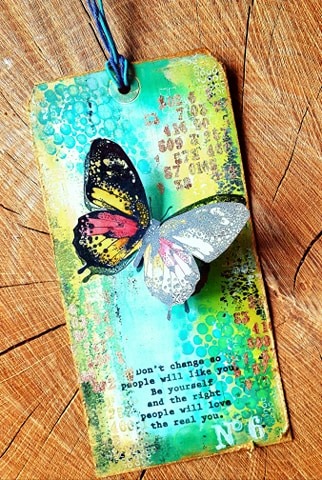
Stap 9
kleur de vlinder met de indigo blu verf. Gebruik steeds meer water om de kleuren uit te laten vloeien. Plak hem op de tag .
---
step 9
Color the butterfly with the indigo blu paint. Use more and more water to let the colors flow out. Stick it on the tag.
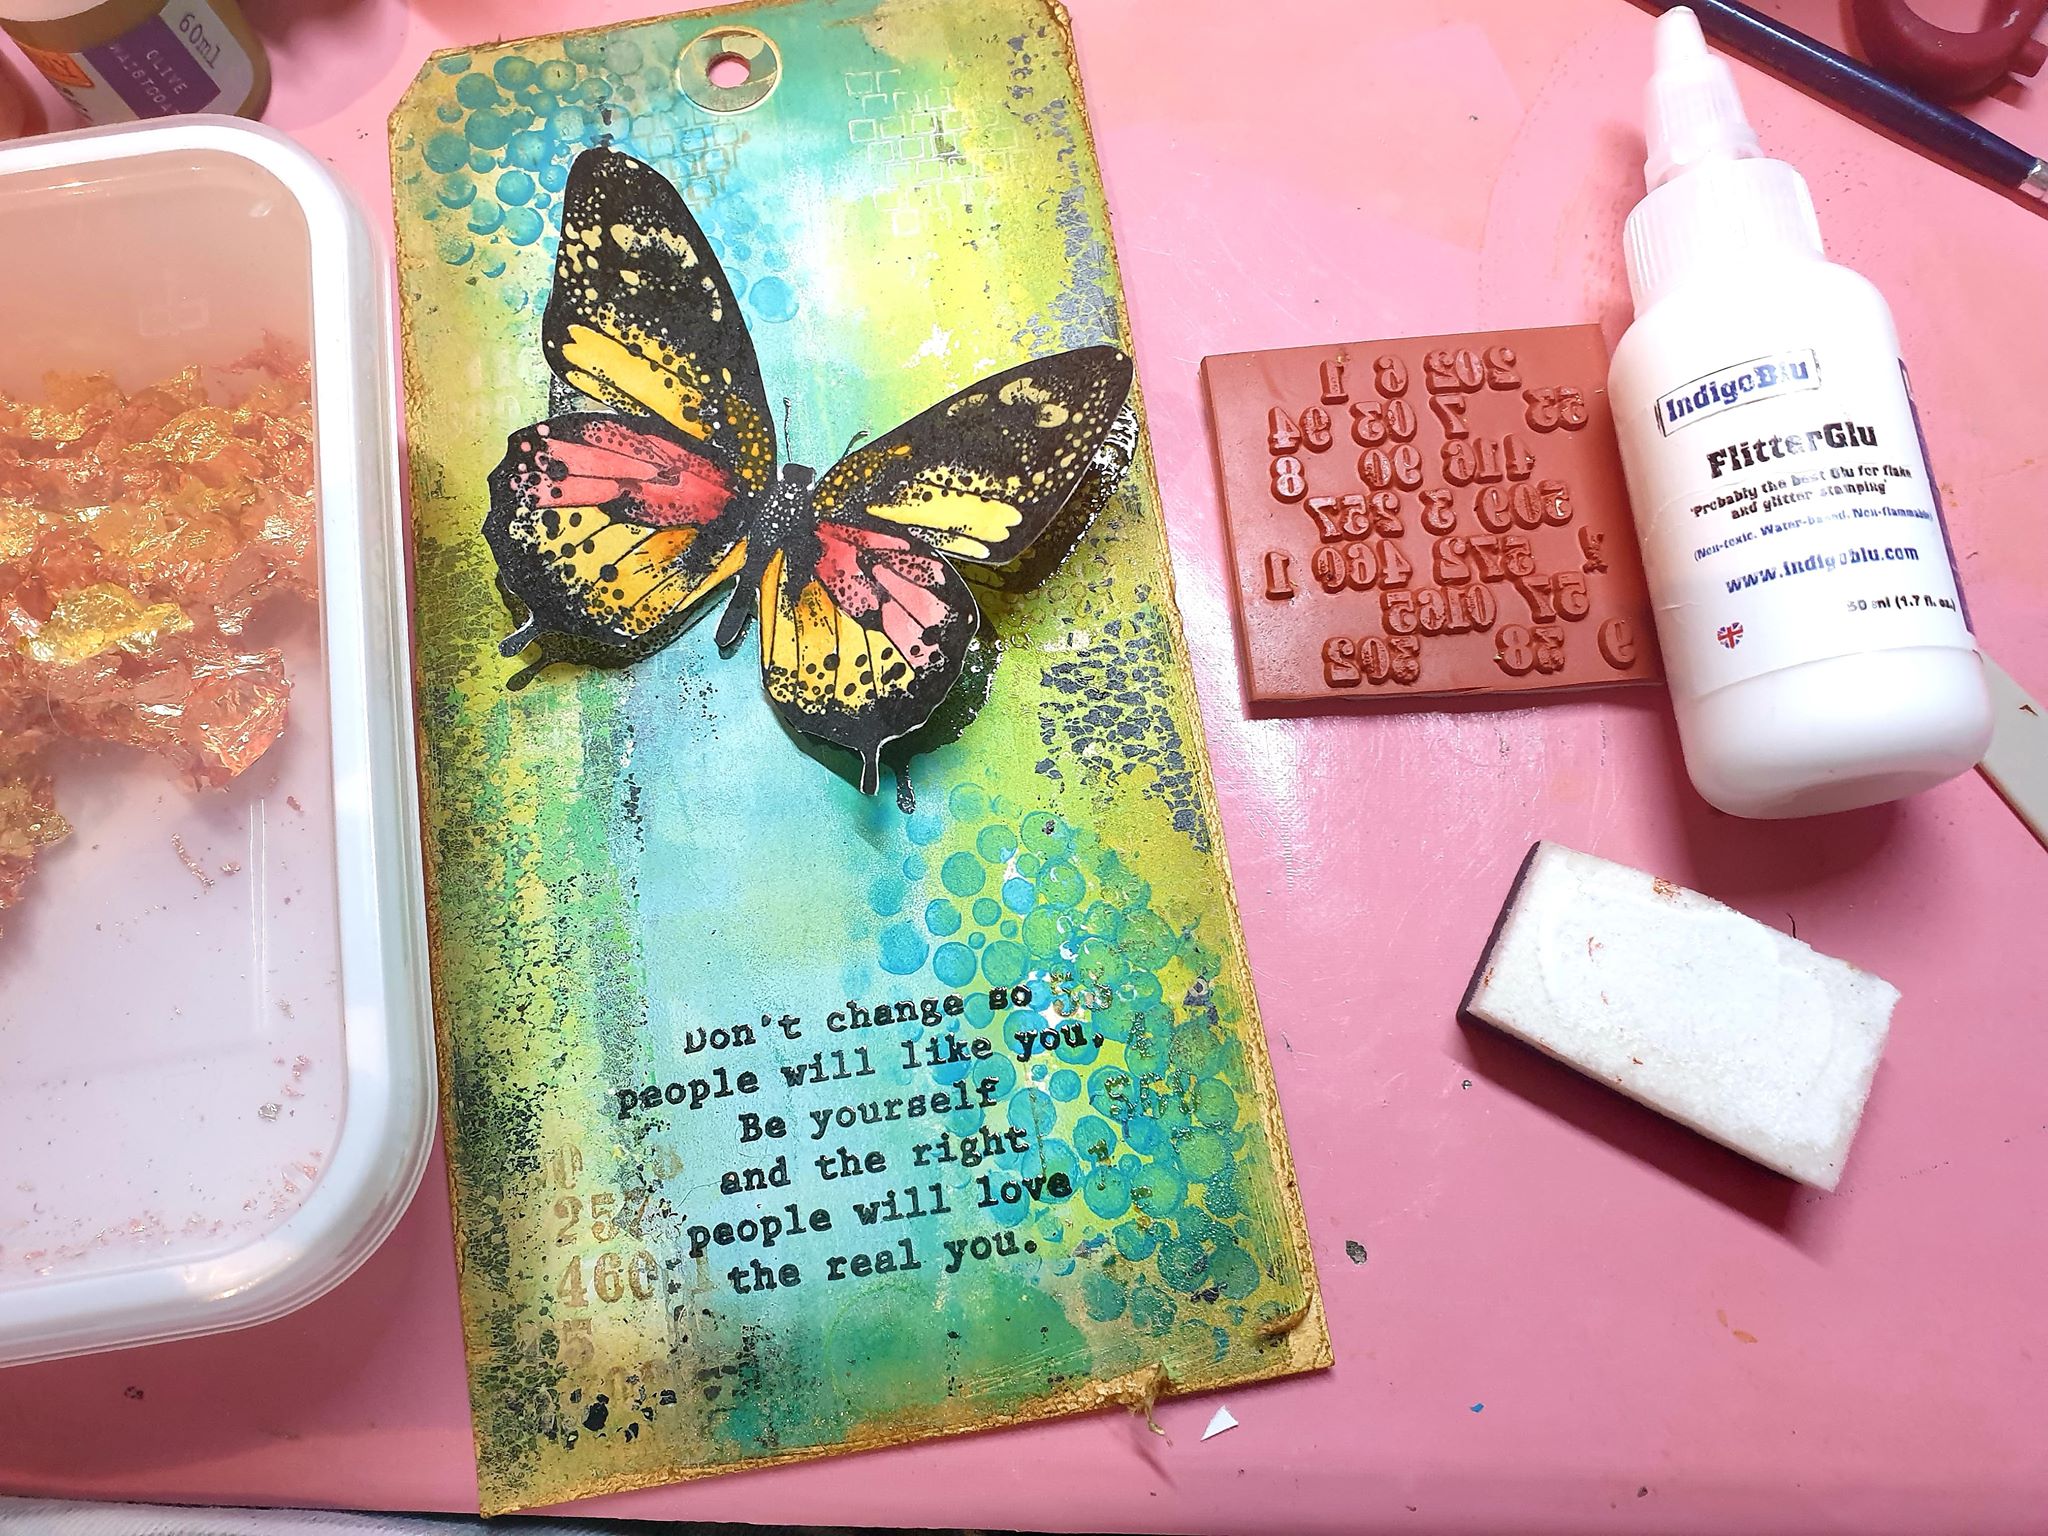
Stap 10
stempel achtergrond stempel met de speciale lijm van Indigo Blu (maak gelijk je stempel schoon voor je verder gaat).
---
Step 10
stamp background stamp with the special glue from Indigo Blu (immediately clean your stamp before continuing).
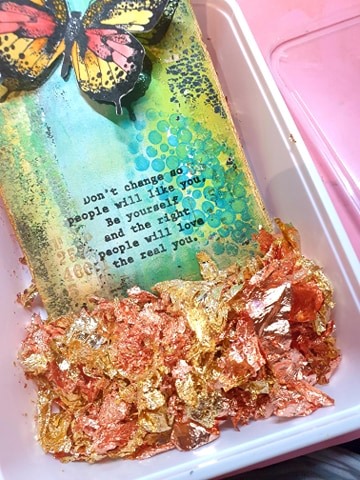
Stap 11
Zet je tag in het bakje goudflakes en druk ze goed op de stempelafdrukken.
---
Step 11
put your tag in the container of gold flakes and press them firmly onto the stamp prints.
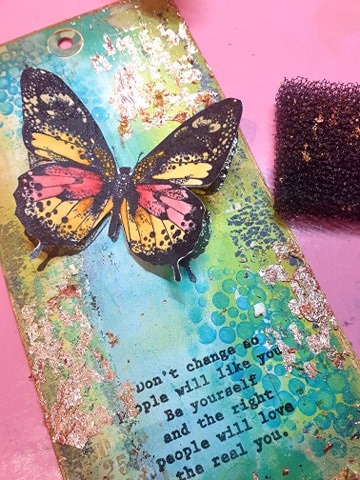
Stap 12
Ga goed over de afdruk met het ruwe zwarte sponsje.
Leuk dat je onze site bezoekt. Geef hier aan welke cookies we mogen plaatsen. De noodzakelijke cookies verzamelen geen persoonsgegevens. De overige cookies helpen ons de site en je bezoekerservaring te verbeteren. Ook helpen ze ons om onze producten beter bij je onder de aandacht te brengen. Ga je voor een optimaal werkende website inclusief alle voordelen? Vink dan alle vakjes aan!